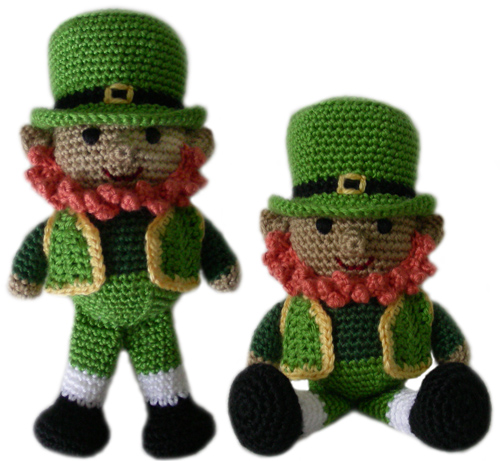
Liam the Leprechaun at crochetspot.com


(picture this in red, of course, and with your favorite green beanie)


Thank you so much to all of the awesome designers for making these patterns available!
Happy crocheting Everybody!!

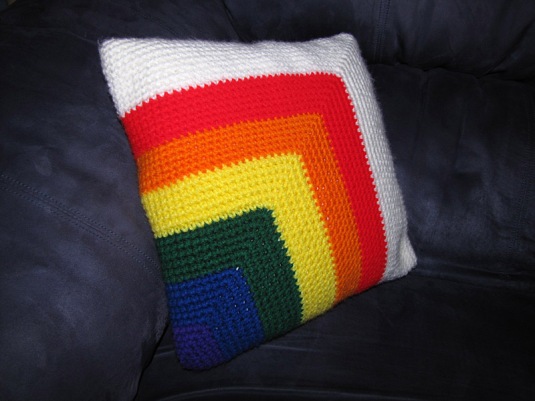
Crochet and Amigurumi
Sit back and enjoy a good yarn!

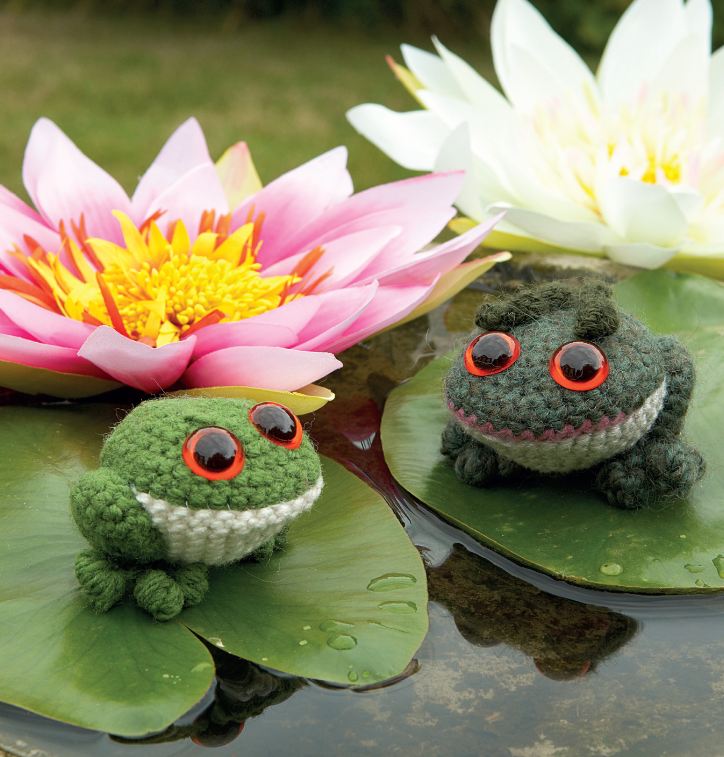
rd | directions | total |
1 | mc 6 | 6 |
2 | (inc) | 12 |
3 | ss, sc, inc, sc, inc, ss | |
4 | ch 2, turn, sc in the 2nd stitch from the hook, inc, sc, inc, ss | |
5 | ch 2, turn, dc in the 2nd stitch from the hook, ss, [dc, ss], dc, ss, [dc, ss], fo, weave in loose ends | |
6 | Embroider, sew, or glue on eyes and mouth |

rd | directions | total |
1 | mc 6 | 6 |
2 | [join to the 1st sc of the round, ch 1, sc 2], (inc) | 12 |
3 | [join to the 1st sc of the round, ch 1, sc ], [tc, dc], dc, [dc, hdc], hdc, [sc, ss], [ss, sc], hdc, [hdc, dc], dc, [dc, tc], sc join stem color | 18 |
4 | ss in the chain space, ch 3, ss in the 2nd ch from the hook, ss, turn the piece over and ss into the stem color on the back-side (this will turn the chain to the side), fo, weave in loose ends |
rd | directions | total |
1 | mc 6 | 6 |
2 | [join to the 1st sc of the round, ch 1, sc 2], (inc) | 12 |
3 | [join to the 1st sc of the round, ch 1, sc ], [tc, dc], dc, [dc, hdc], hdc, [sc, ss], [ss, sc], hdc, [hdc, dc], dc, [dc, tc], sc, fo, leave a long tail for sewing | 18 |
4 | Line the back piece up with the front, with the wrong-sides facing each other. Whip stitch the pieces together, avoiding the stem, and keeping the stitches lined up evenly. Fo, weave in the loose end. |

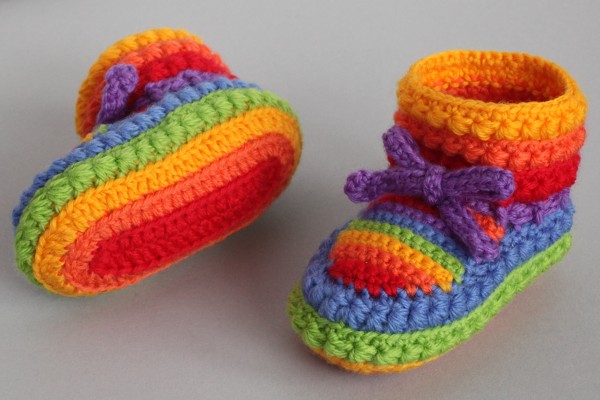
rd | directions | total |
1 | mc 6 | 6 |
2 | [join to the 1st sc of the round, ch 1, sc 2], (inc) | 12 |
Leg: [sc, ch 4, ss in the 2nd ch from the hook, ss 2] the leg counts as one stitch | ||
3 | [join to the 1st sc of the round, ch 1, sc], [sc, leg], leg, [leg 2], sc, inc, inc, sc, [leg 2], leg, [leg, sc], sc, fo, weave in loose ends | 18 |
rd | directions | total |
1 | mc 6 | 6 |
2 | [join to the 1st sc of the round, ch 1, sc 2], (inc) | 12 |
3 | [join to the 1st sc of the round, ch 1, sc], inc, (sc, inc), fo, leave a long tail for sewing | 18 |
4 | Line the back piece up with the front, with the wrong-sides facing each other. Whip stitch the pieces together, avoiding the legs, and keeping the stitches lined up evenly. Fo, weave in the loose end. |